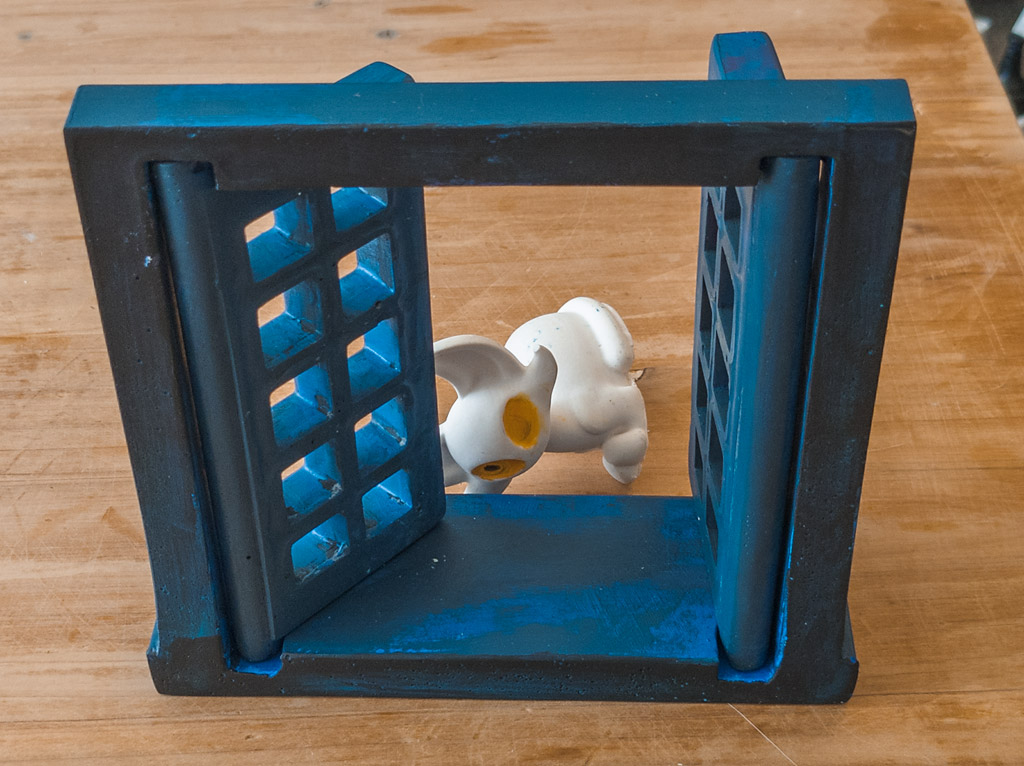
making the figurines

so i'd really wanted to make an interactive figurine for ages, and the opening window seemed like a great contender.
especially if it could be posed in place, and i thought it had cute potential to have paper backdrops tacked to the back as decoration.
especially if it could be posed in place, and i thought it had cute potential to have paper backdrops tacked to the back as decoration.
remodelling
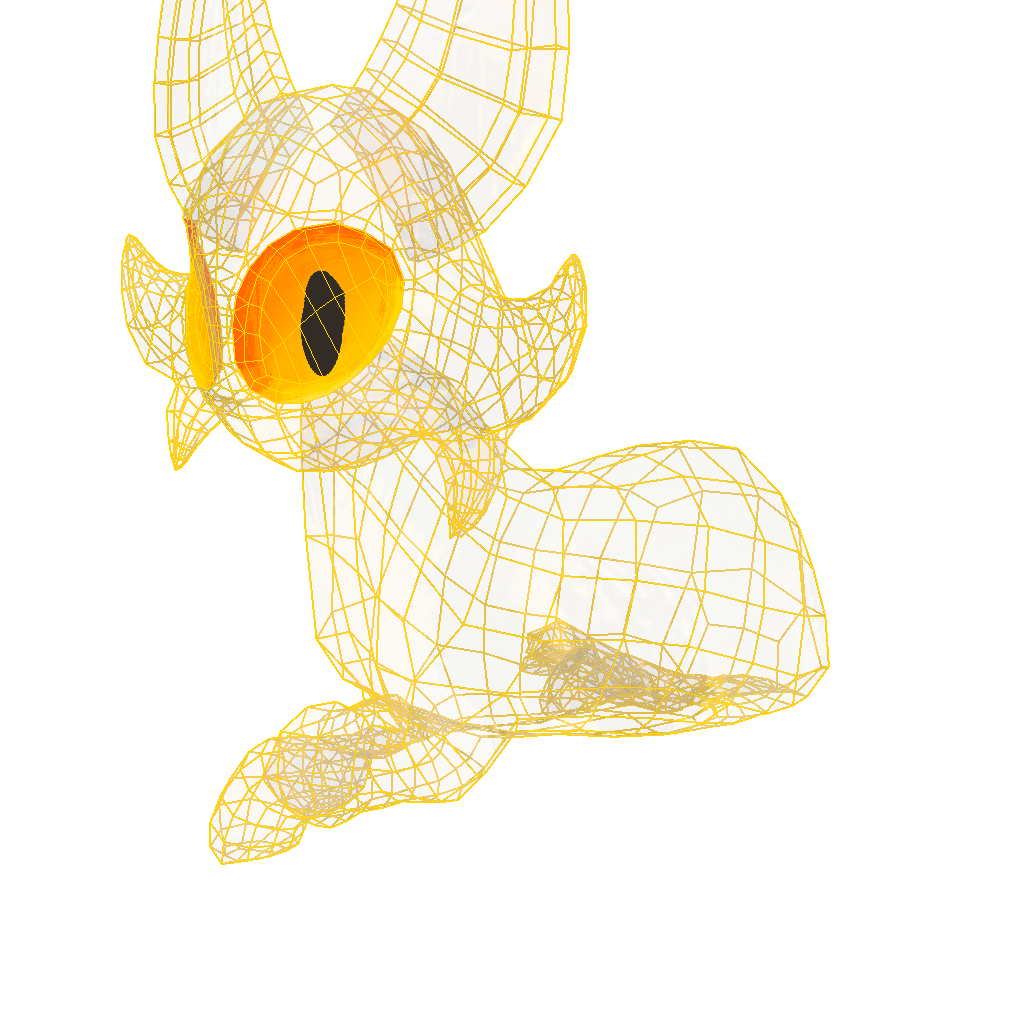
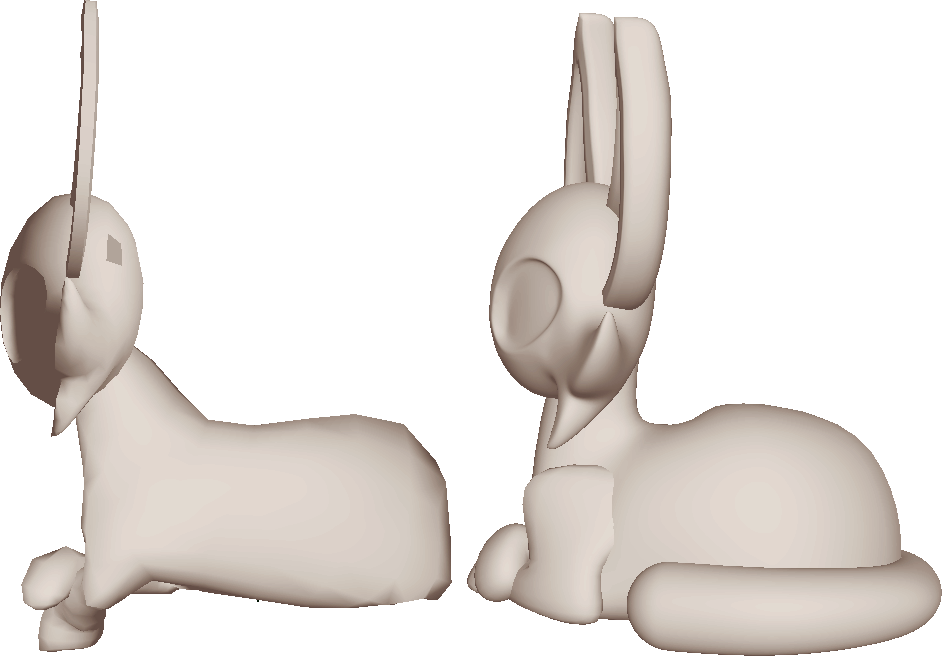
except for some of the face, the whole cat needed to be remodelled from scratch with new meshes.
one reason was to make it cleaner to 3D print. for the rendered scene i completely hid the legs inside of the cat's body, and also a lot of polygons were just janky.
like i said in a previous post, designing something for a single camera angle is great, until you need to see it from different angles.
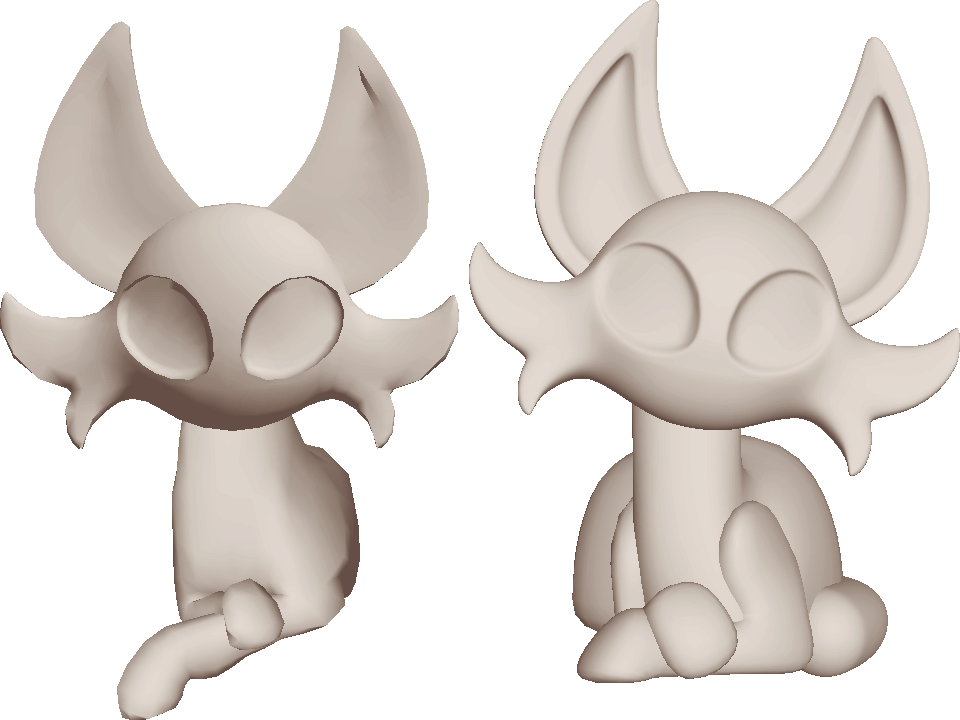

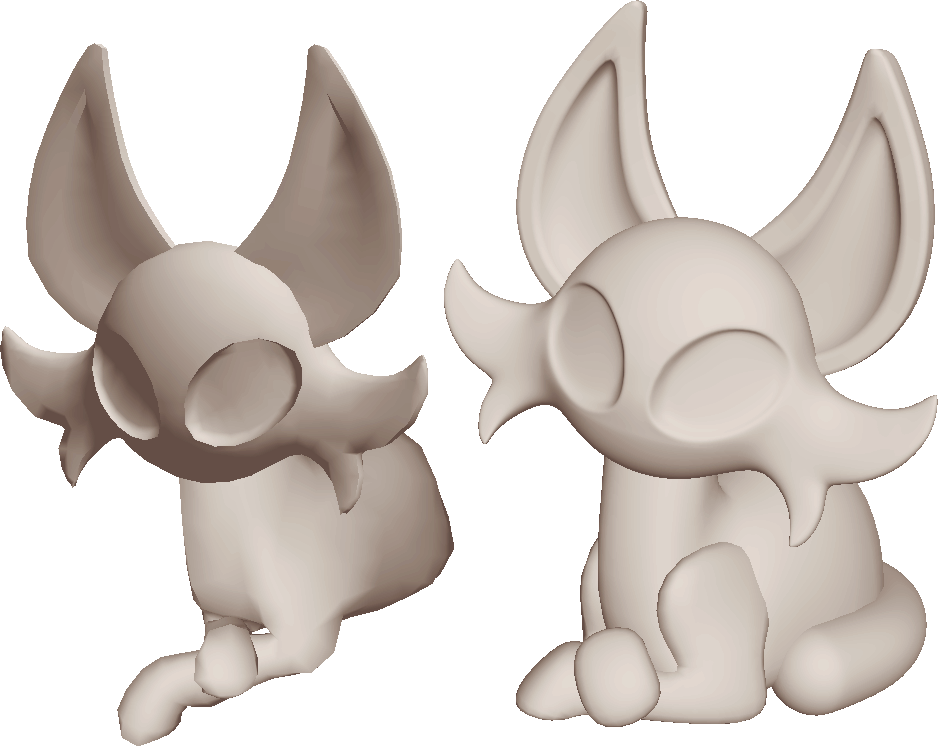
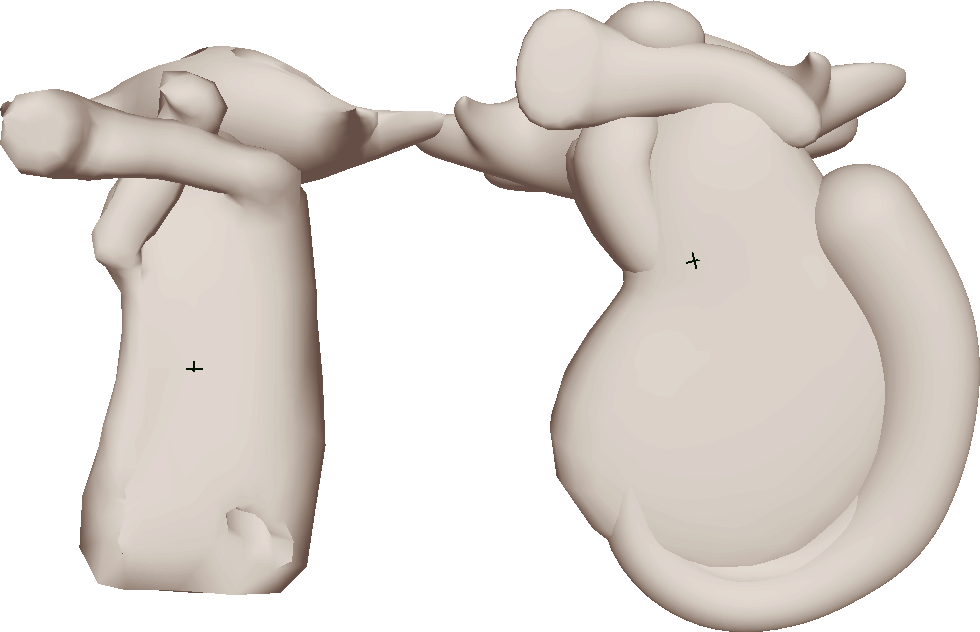
so in working out what was important to change, i figured everything needed to be chonkier, so it doesnt break,
and smoother, so that less bubbles get caught in the casts.
didn't take too long because it's essentially just dropping in new cylinders and spheres, and essentially "tracing" over the old model sitting there, and just pulling them out and making them better shapes.
being able to just use a smooth preview and pull geometrical shapes around is a nice freedom granted by 3D printing projects; you don't have to worry about the polygons being friendly for game engines and animation, you can just go nuts.
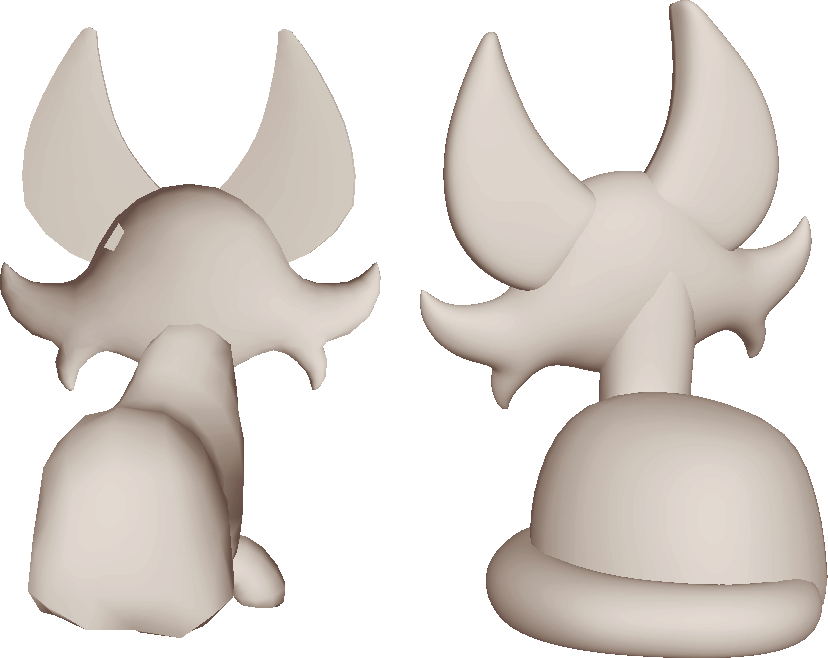
you can see here how much the body shape changed.
didn't take too long because it's essentially just dropping in new cylinders and spheres, and essentially "tracing" over the old model sitting there, and just pulling them out and making them better shapes.
being able to just use a smooth preview and pull geometrical shapes around is a nice freedom granted by 3D printing projects; you don't have to worry about the polygons being friendly for game engines and animation, you can just go nuts.
you can see here how much the body shape changed.
3D printing
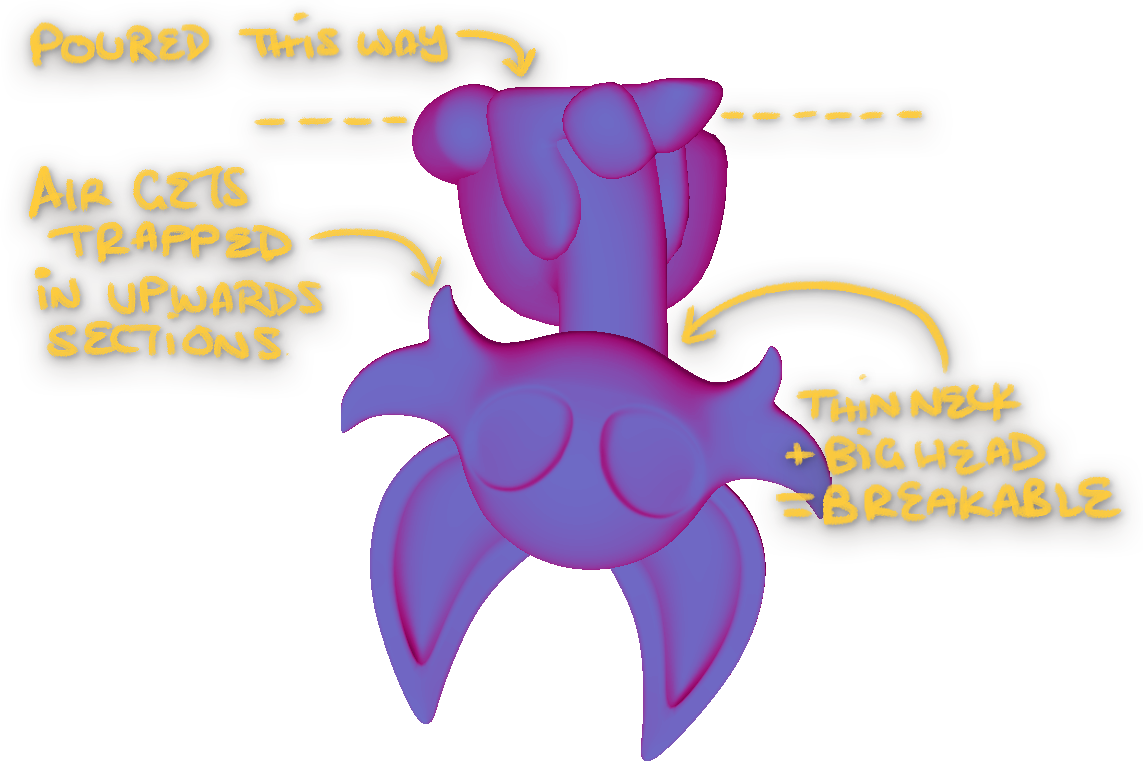
at this point in the redesign i made some risky decisions. i had to toss up between having an easier time with casting vs getting things to look the way i wanted.
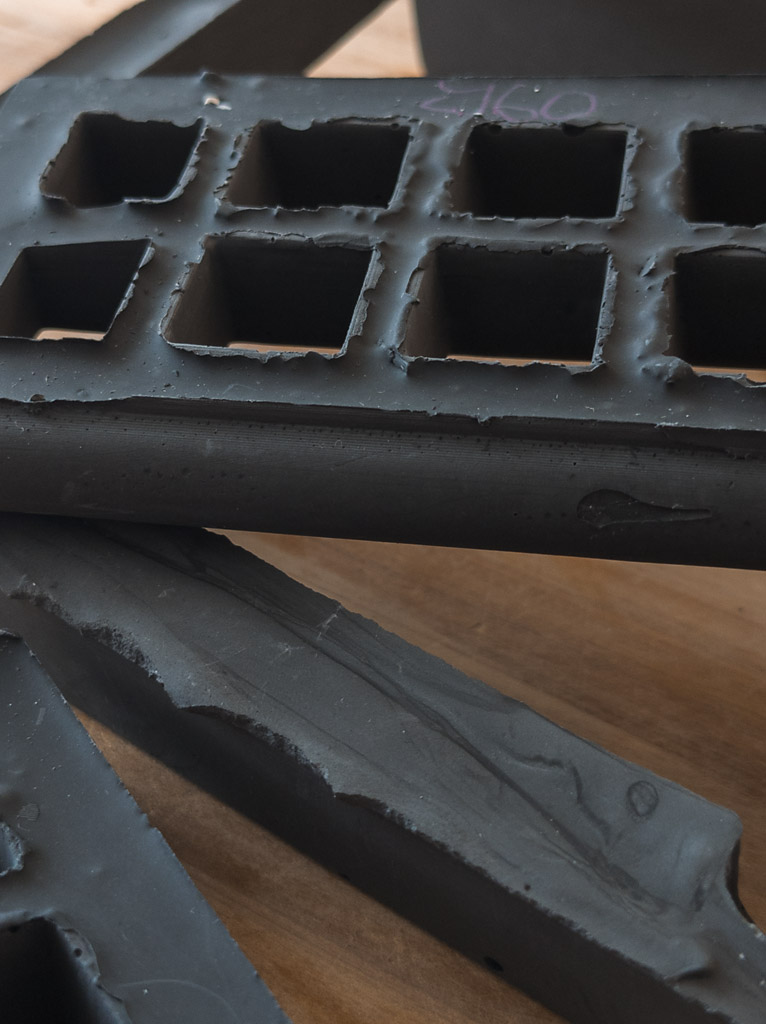
i knew there was a good chance the lower whiskers would turn out to be a problem. usually you need to make a spru that allows the bubbles to air out, leaving long rods of plastic on each cast that you need to cut off later and sand down.
the neck was also a risk point. i tried to find a balance between the aesthetic i wanted and something that wouldn't break, but i've still had a few lose their heads when pulling them out of the mold too early.
this would've been much less of a problem if i'd been casting with a polyurethane like SmoothCast, but i'd wanted to try a GFRC based plastic this time, which takes a week to reach full strength.
 at first i thought it'd be a better to get around this issue by printing the front and back of the cat separately and making two moulds. even got as far as 3D printing the parts.
but i realised that it'd also be a shitload of work having to glue together the halves and fill in with clay around them to make a seamless body for each cat.
and it would still be at risk of being a break point in the final casts. for most materials its best to make them in one piece if possible.
so i took the gamble on making it all a single piece, and hoping i'd angled the head enough that material could be shaken into all areas of the mold.
and here's the final print. i've almost never used tree supports, this was a rare case where it worked great for this piece.

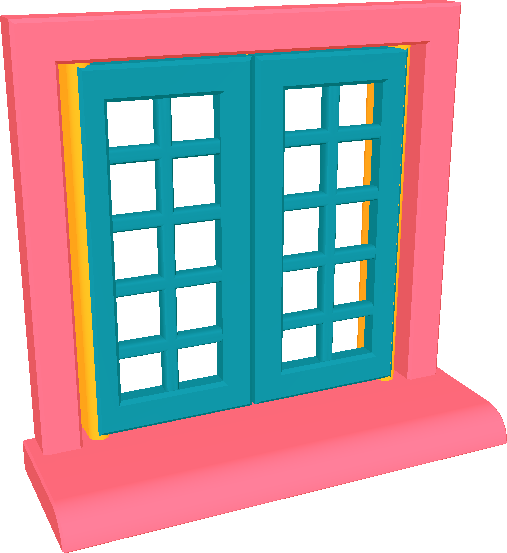
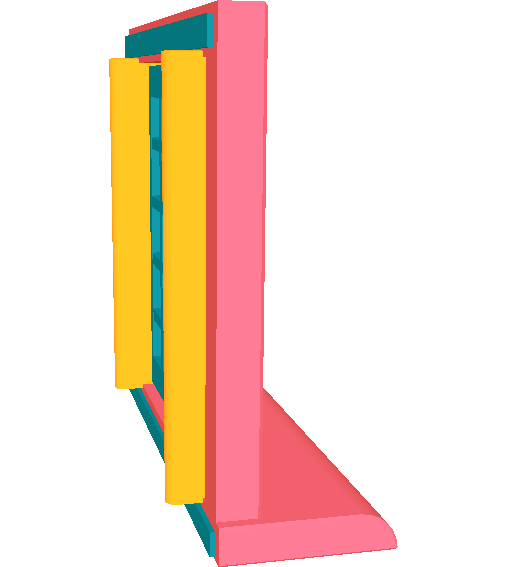
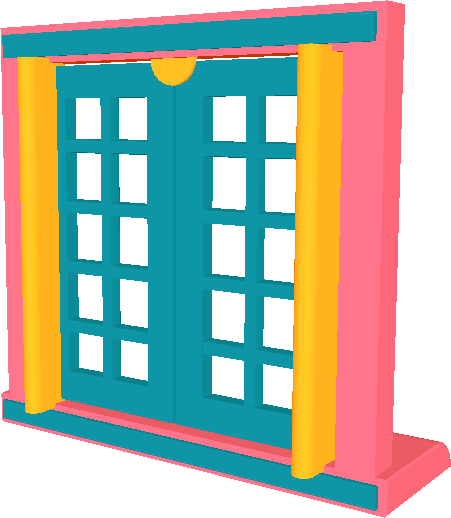
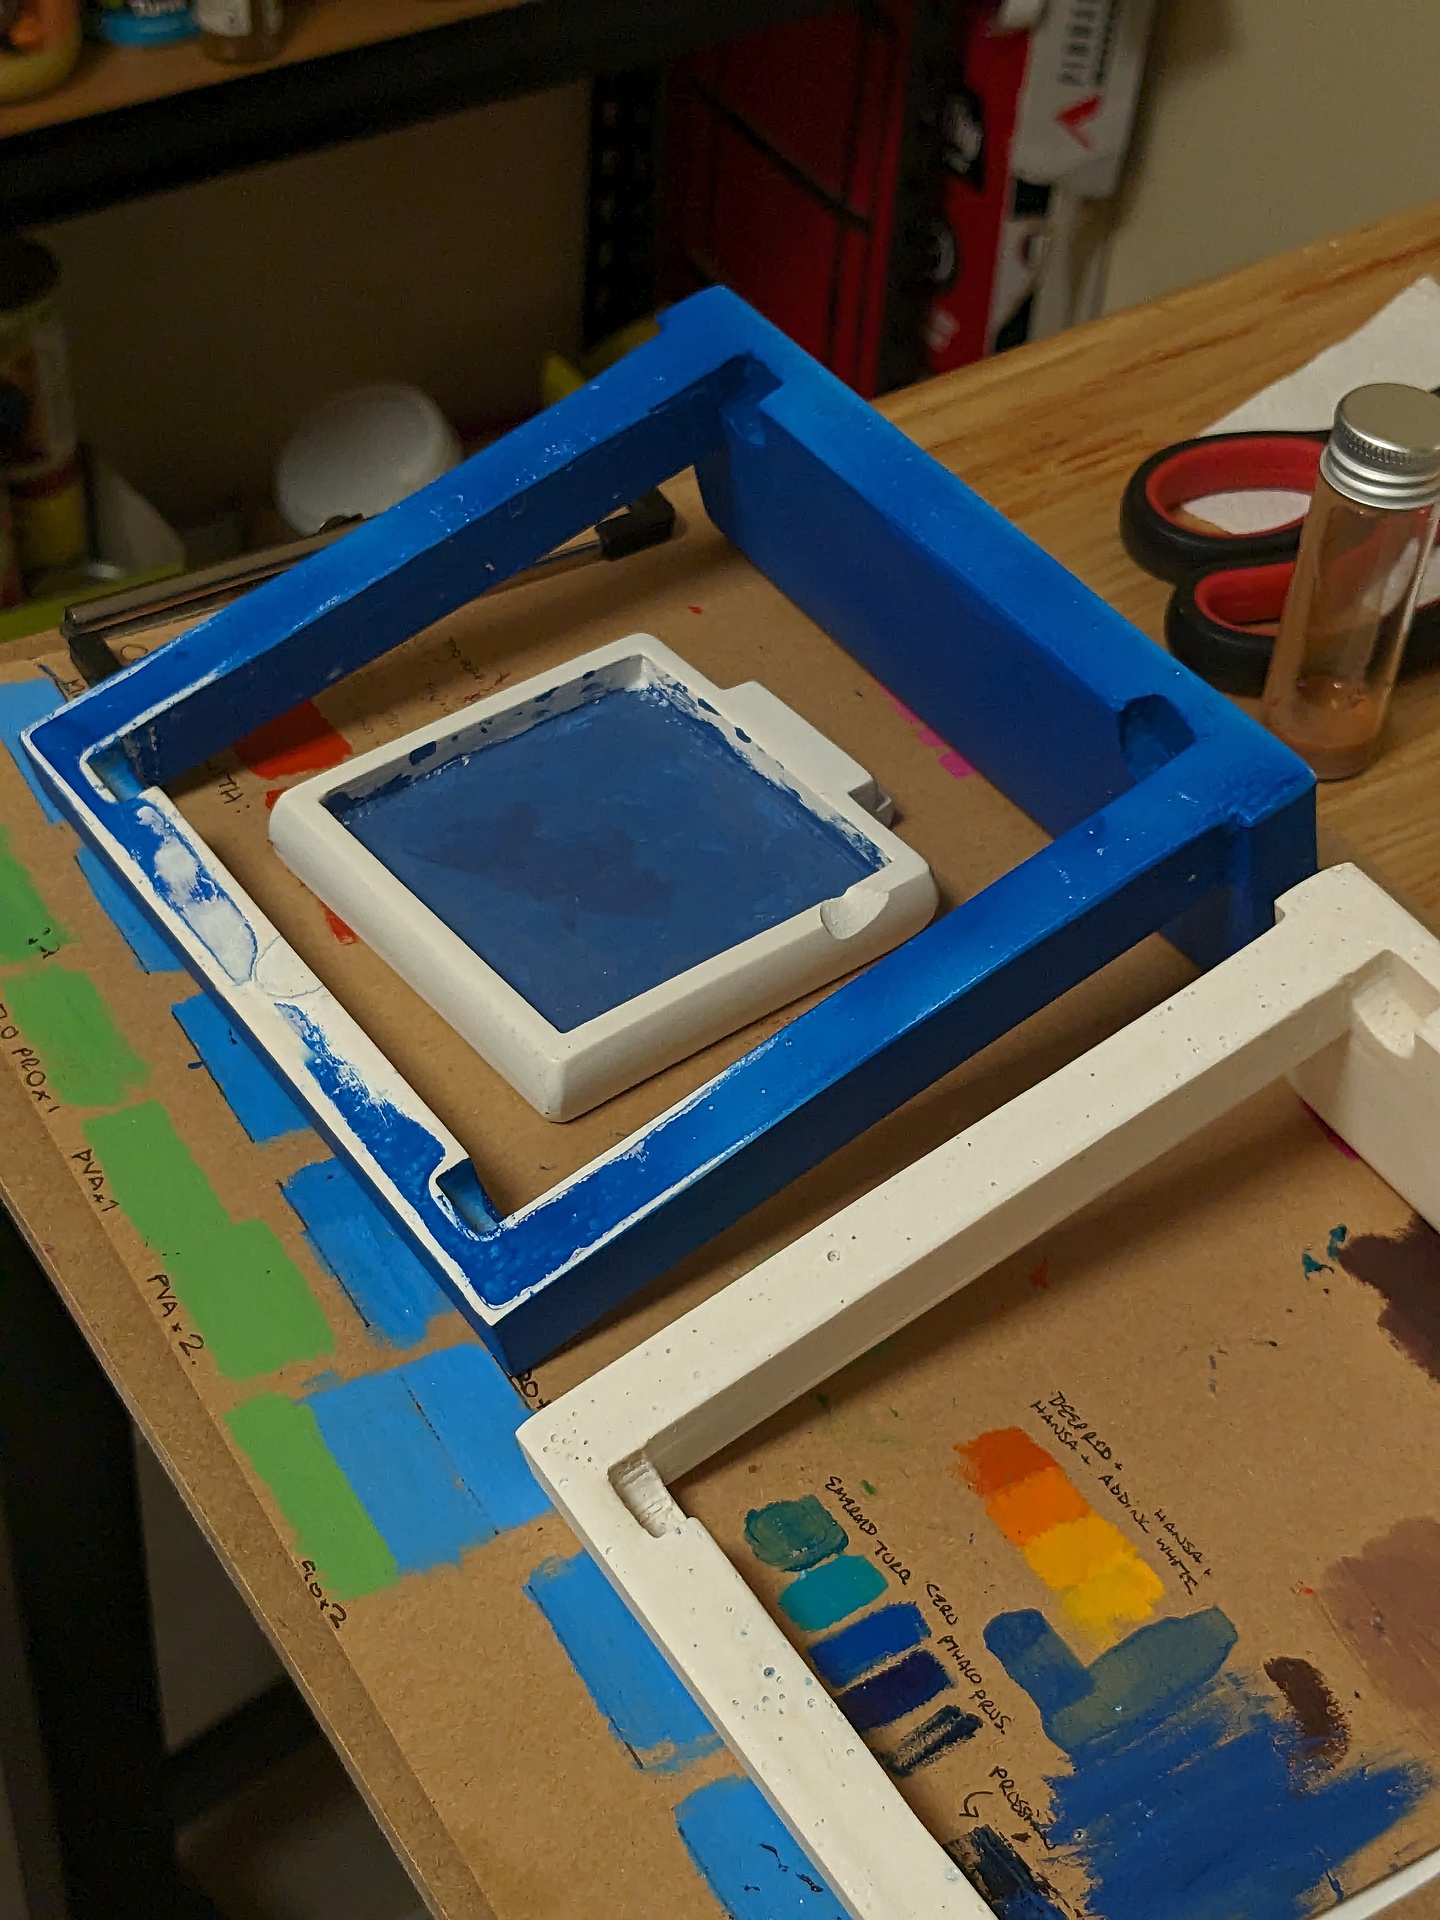
designing interactive windows
for the windows actually swinging, i was scrapping around way too much with trying to overengineer a more elaborate way for the hinge to slip into the windowframe. eventually i realised it just added more risk of parts not filling in correctly during casting.
so kept it simple, it works great all things considered, and once they're all painted up i can glue on a backplate to keep them there and theyre done!
i initially added a hole in the back of the window frame, for hanging it on a wall, but this turned out to make the structure very fragile and had to be cut off of the mold with a knife.

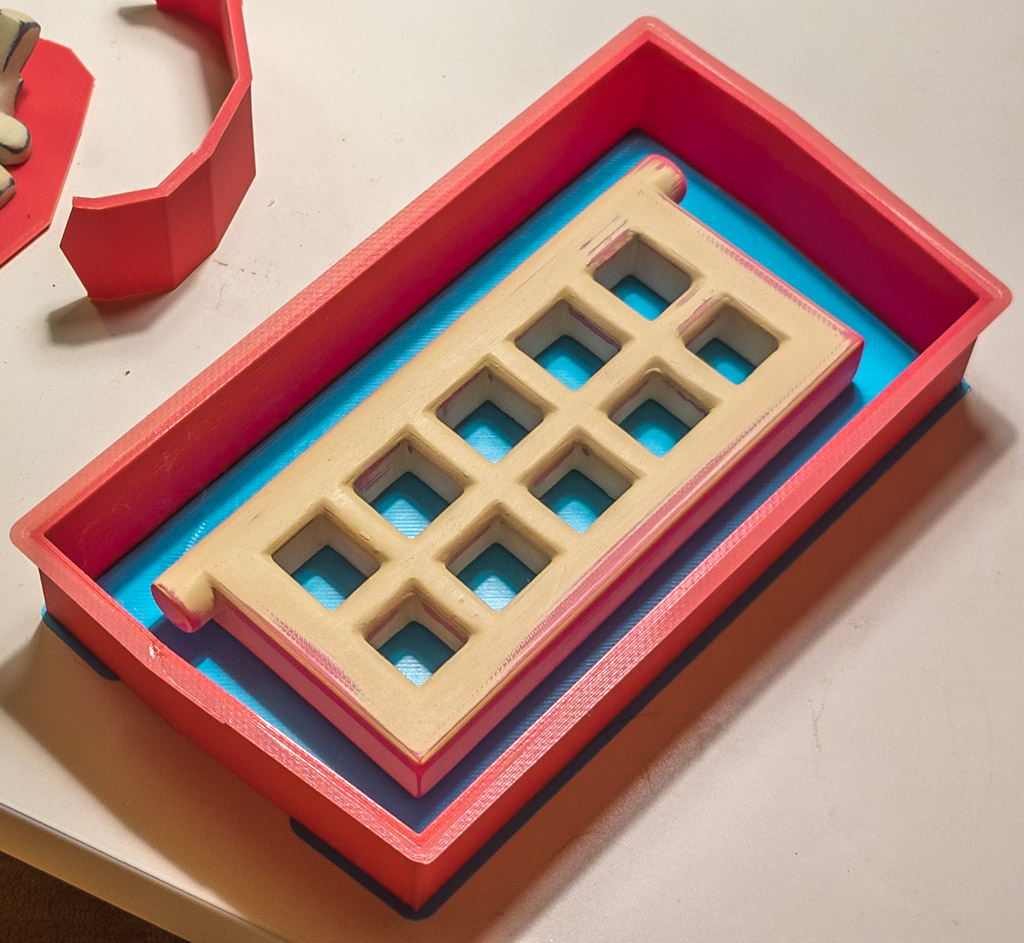
so i went on and printed out the window parts next,
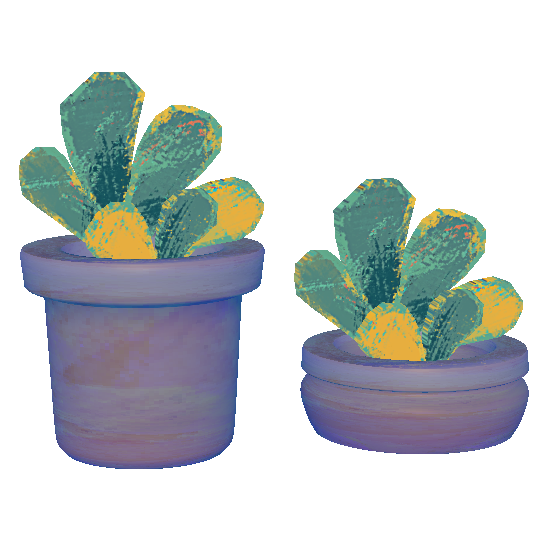
and originally i had a couple of little pot plants, but they really added very little to the scene, were too bulky for the windowsill, and were difficult to demold without breaking them, so i scrapped them.

and then the sanding. there's a few different fillers i use, in this case Septone car filler. i sprayed everything over, and then sanded it down smooth, with 120 grit, then moving through two or three more higher grades of sanding paper. i repeat that between four and six times for each print, and on the last round will finish it off with a really high grit paper, like 2000 or something idk.
i love sanding, despite how long it takes. but the thing that takes longest and is most annoying is how often you have to wash all the grit off the print and your hands.
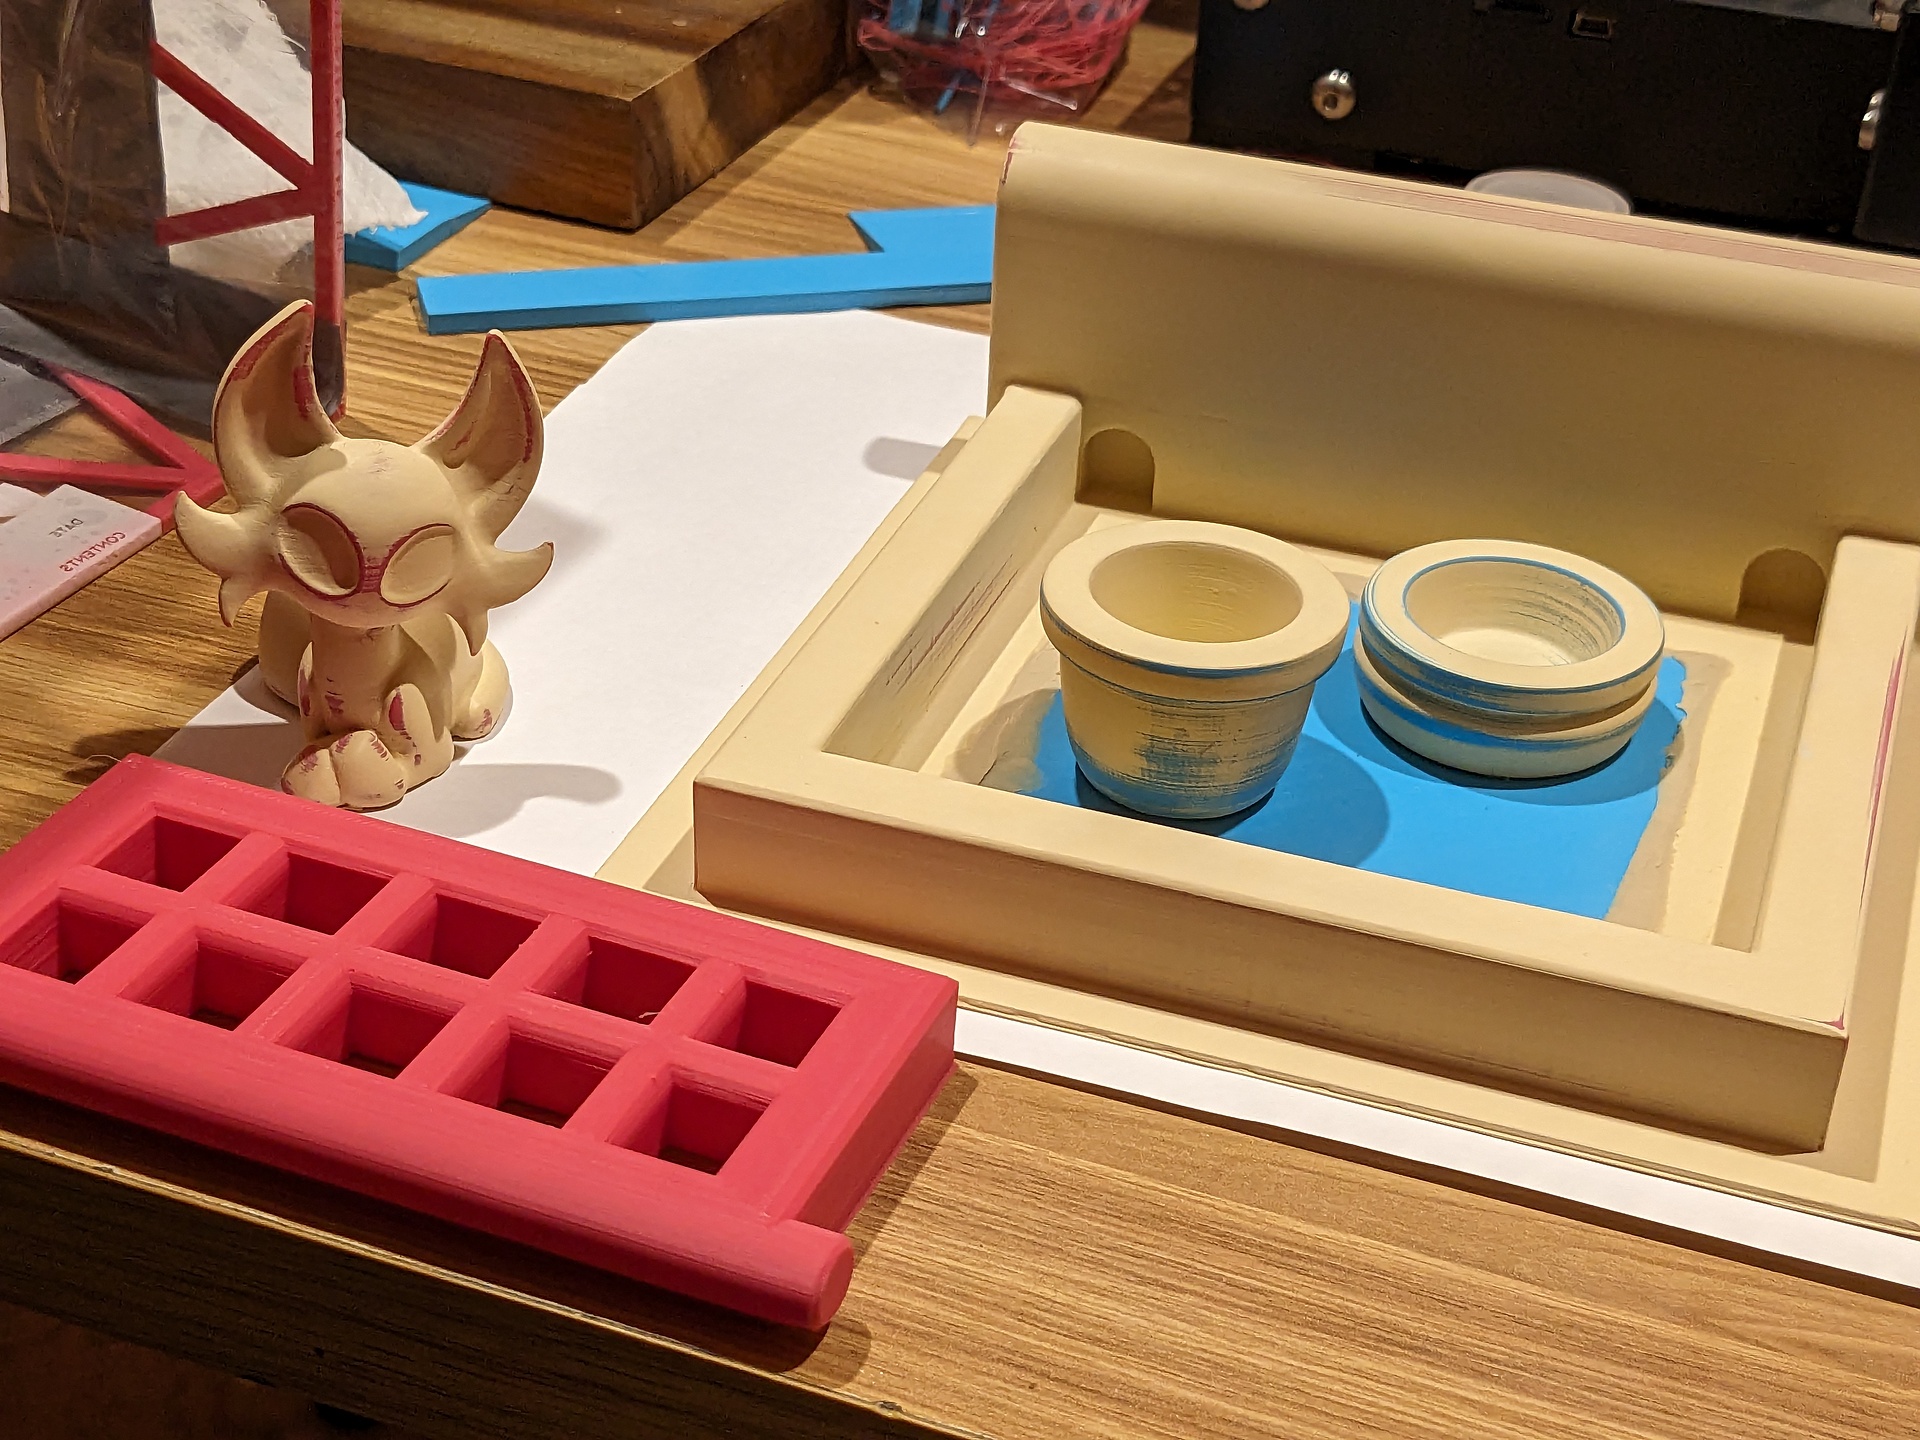
now they are completely smooth to the touch, time to glue them down into the mold boxes and mix some silicone.
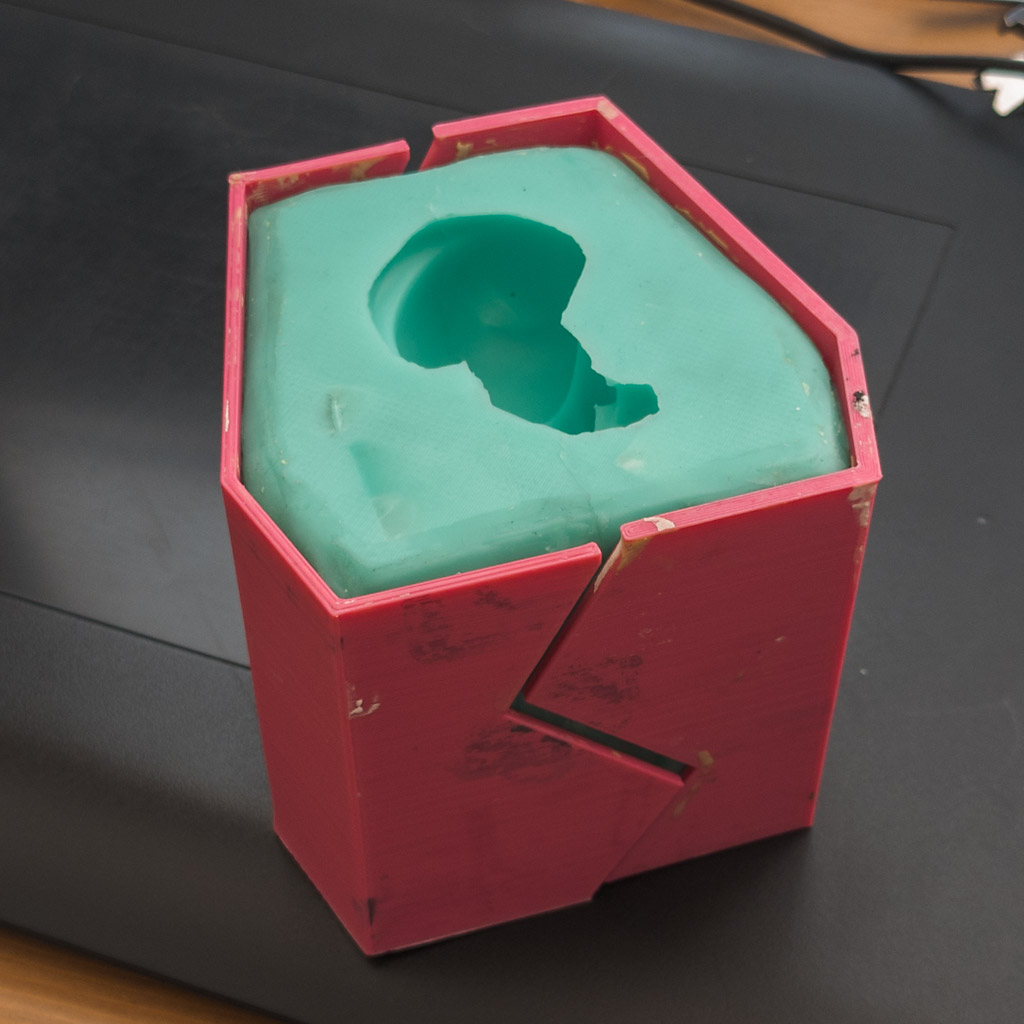
mold making
now silicone is a cheeky bugger, especially with how
you've got to really plug up every gap tightly so it can't leak out.
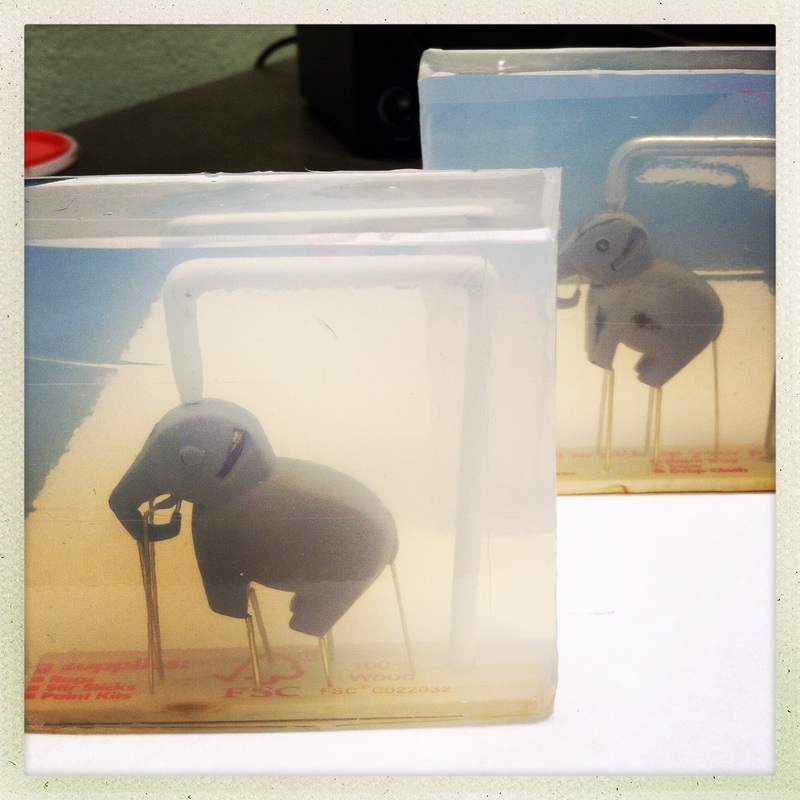
i'd never worked with molds THIS big though, so I was so unprepared for how physically heavy this thing would be. the amount of clay I used was not strong enough and disaster ensued.
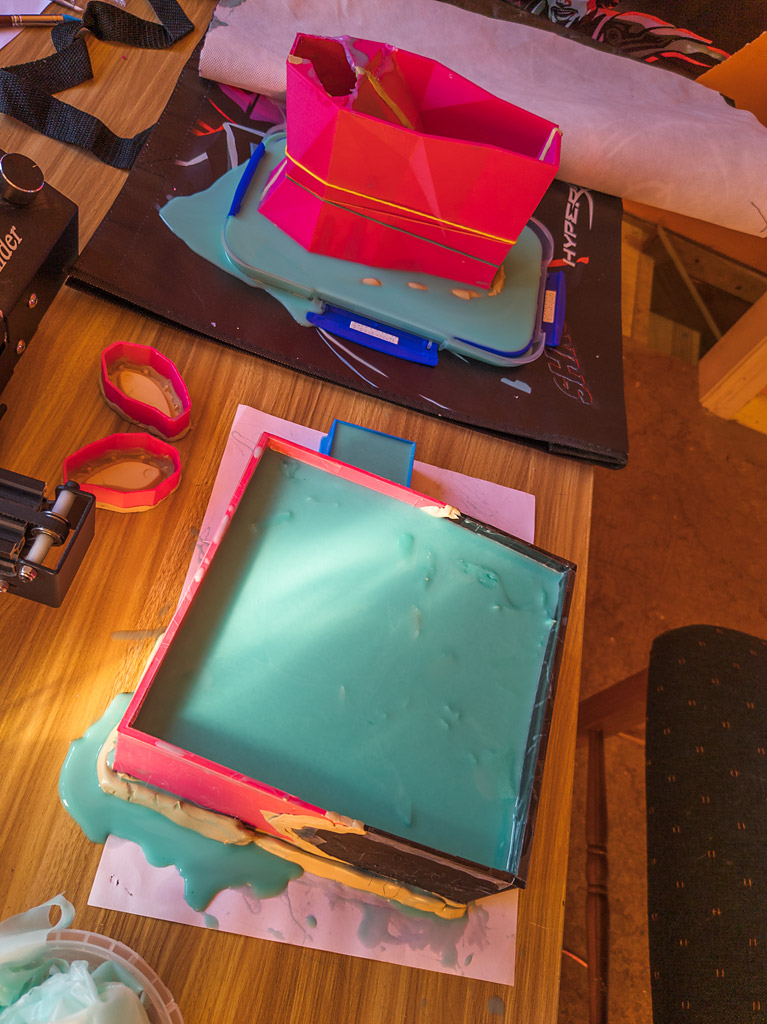
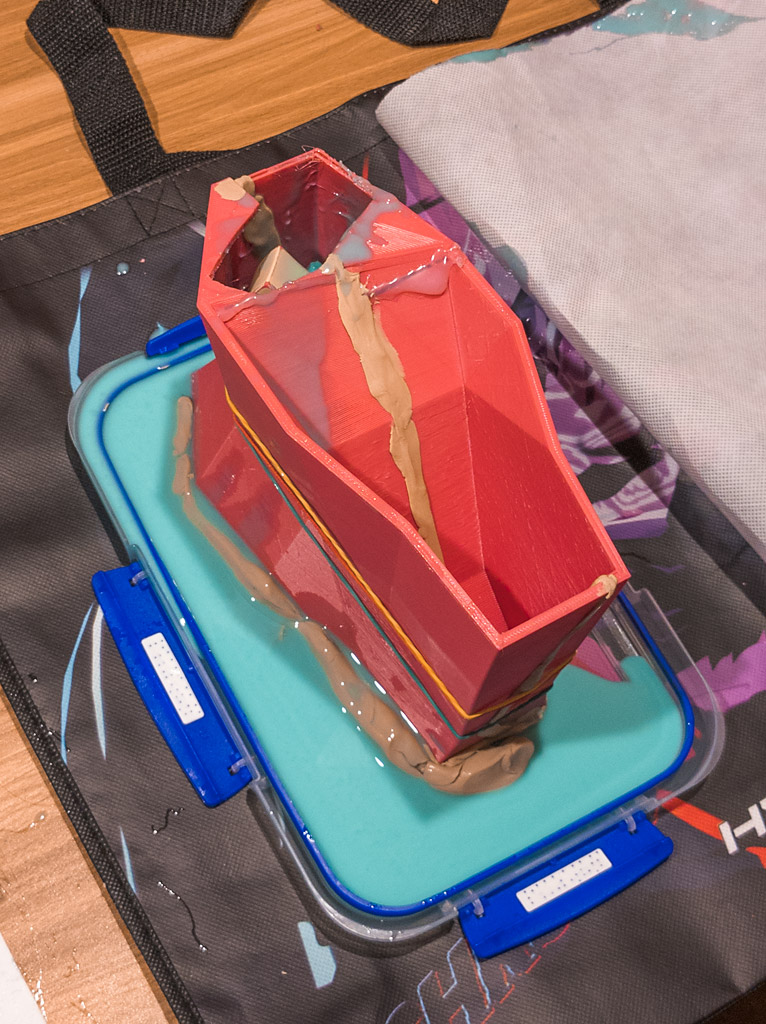
the sheer weight of the silicone just pushed the clay out of the cracks.
the window alone took something like half a gallon of silicone, so i'm really glad that it didn't spill much before i caught it.
the mould for a crocodile toy i was mixing at the same time (silly, impatient, don't do that) fared a lot worse and i lost most of the pour, oops.
and below is the finished mold for the cat, which i'm so happy i had no dramas with.

casting and cleanup
once that drama was over i got into the casting.
at some point i want to do up a post on casting materials, i like trying a lot and theyre all a pain in the ass in their own way.
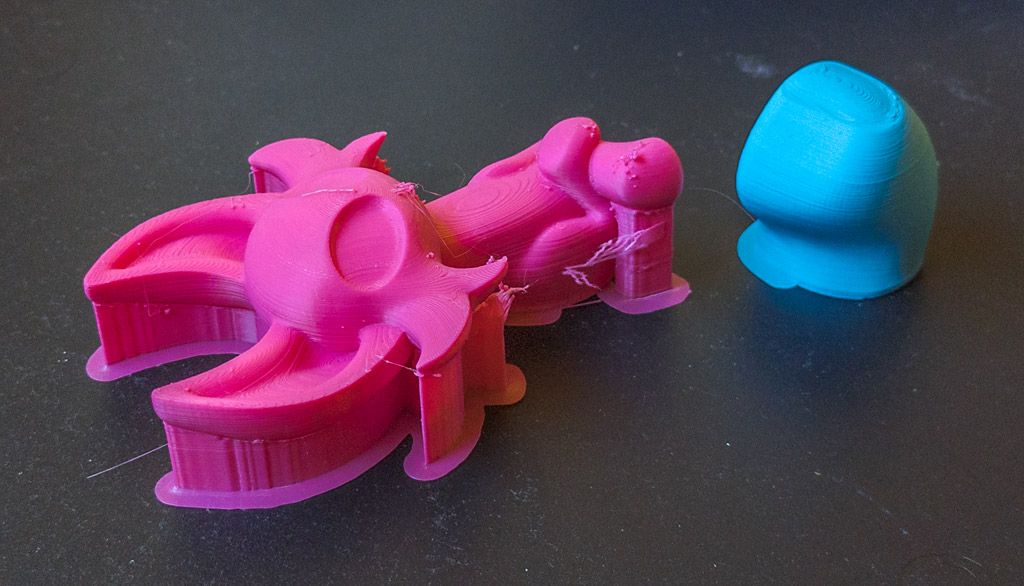
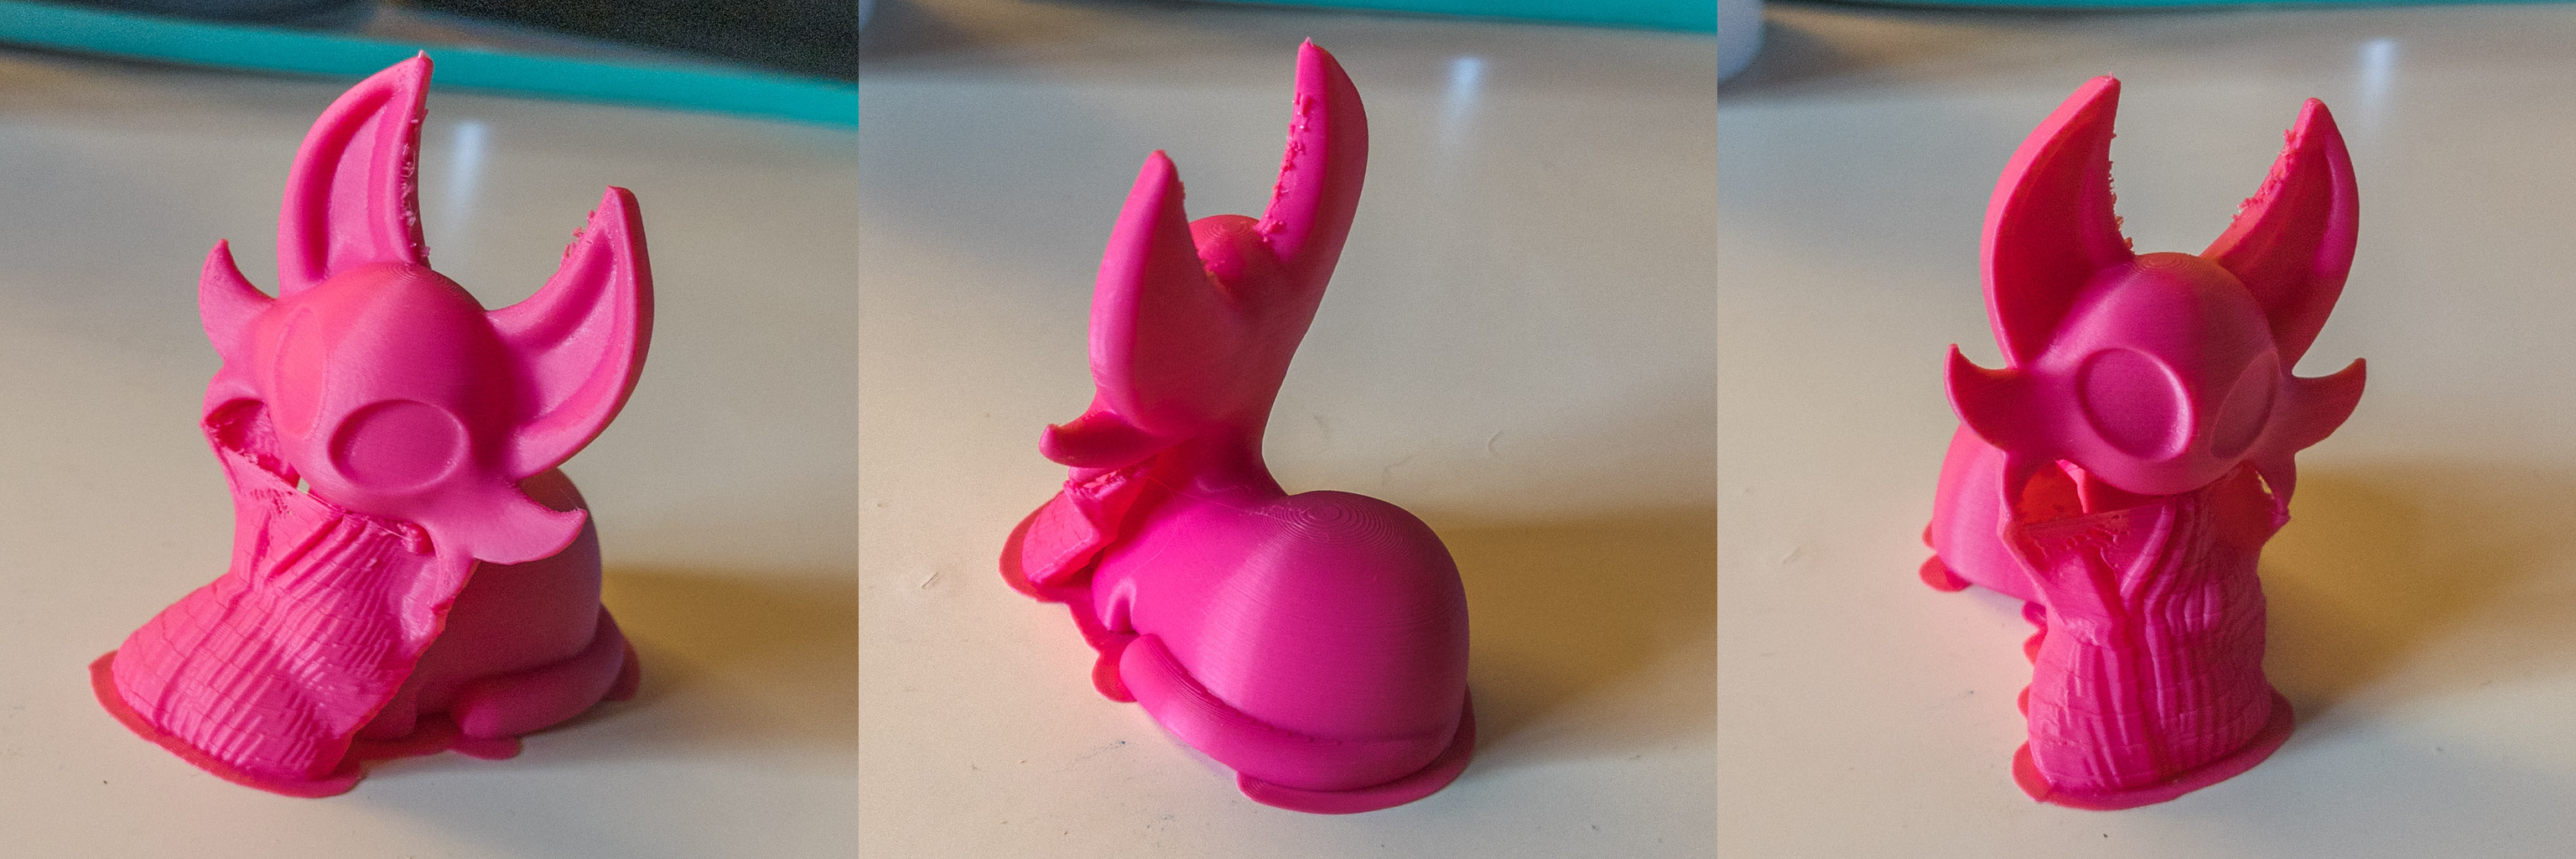
or in this case a pain in the wrists, as each cast had to be drilled with a paint mixer for up to 11 minutes each.
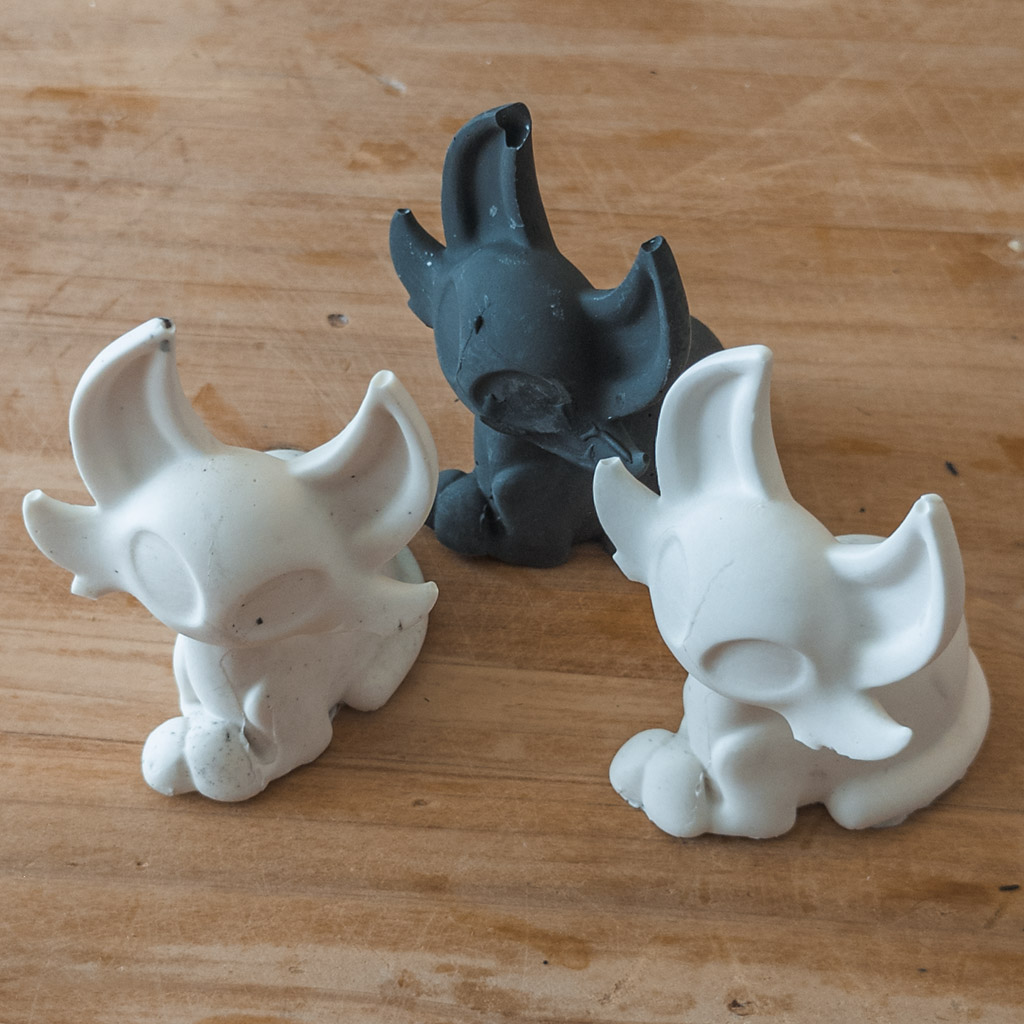

then a bunch of cutting off the rough bits from each cast, sanding them down smoother. the window shutters wont even fit in their frame until they've been sanded enough.
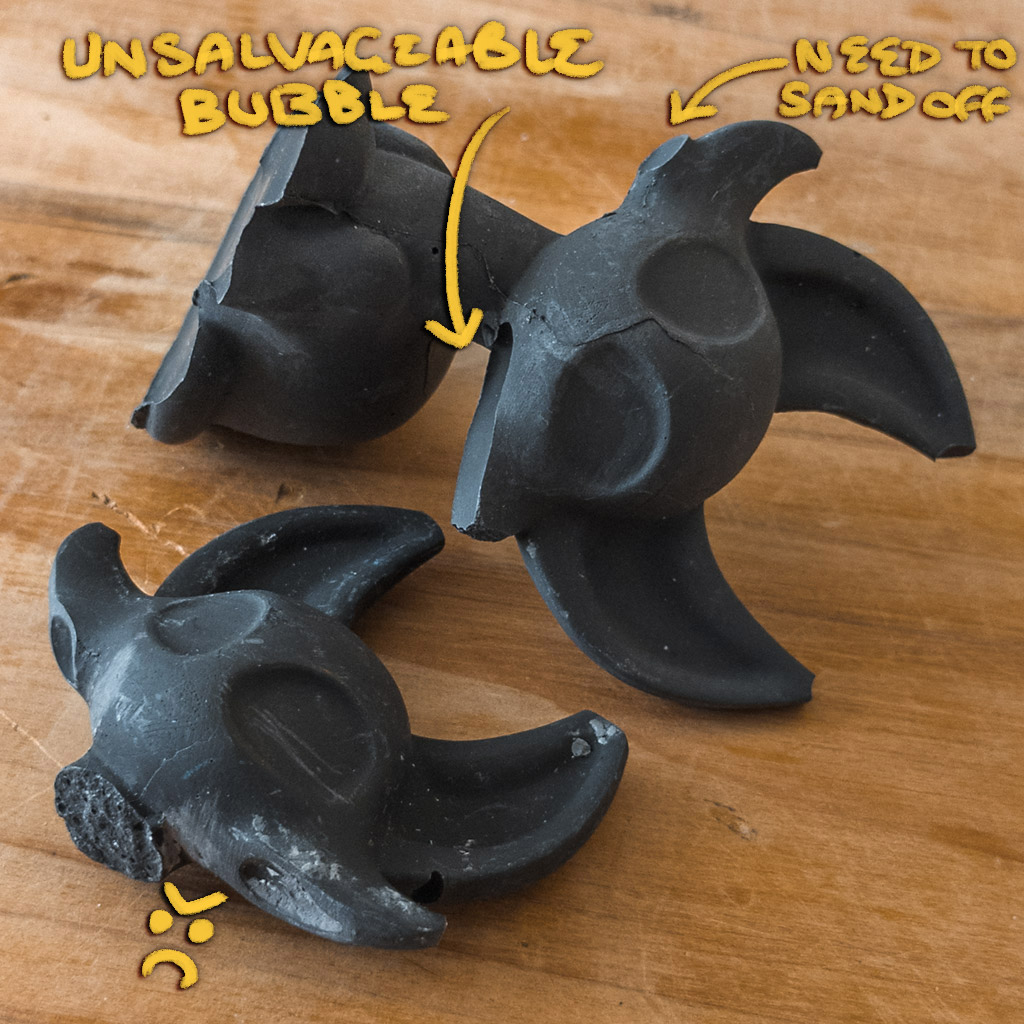
and what i was saying before about risky design decisions and skipping making sprues comes to fruition here, look at those bubbles.
depending on the material this can make it harder.
stuck on painting
so this is where i'm at currently
boy i hate mixing colours irl, it takes a damn long time to find colours that work well together, taking notes on exact amounts of the paints used to make them, and then having to wait til they dry to see how much the colour changes. usually have to set aside a couple days to just focus on that.
so far have done 4 layers of paint on the windows, trying to get a nice blue or an interesting layering effect and still don't like where it's going. i know what i need is more practice, and experience with traditional paint media in general, but for now i've packed this project back into my procrastination station. :P
casting resources
these resources are what got me started trying this stuff out.
it started with an old 3d printing course by joseph drust (uartsy) that just happened to have a few bonus videos on molding & casting
and these were the other most helpful bits i found: